How To Prevent Hiking Blisters
How To Prevent Hiking Blisters
Are you planning a hiking adventure? One of the most common nuisances that hikers face is blisters. These painful and frustrating sores can quickly turn a fun-filled hike into a painful experience. Fortunately, there are several effective strategies to prevent blisters from forming in the first place. In this section, we will explore some tried and tested methods to keep your feet blister-free while hitting the trails. From wearing well-designed hiking socks to gradually building up mileage, we will provide you with practical tips that can make a big difference during your outdoor excursions. So let’s dive in and learn how to prevent hiking blisters!
Wear Well-Designed Hiking Socks
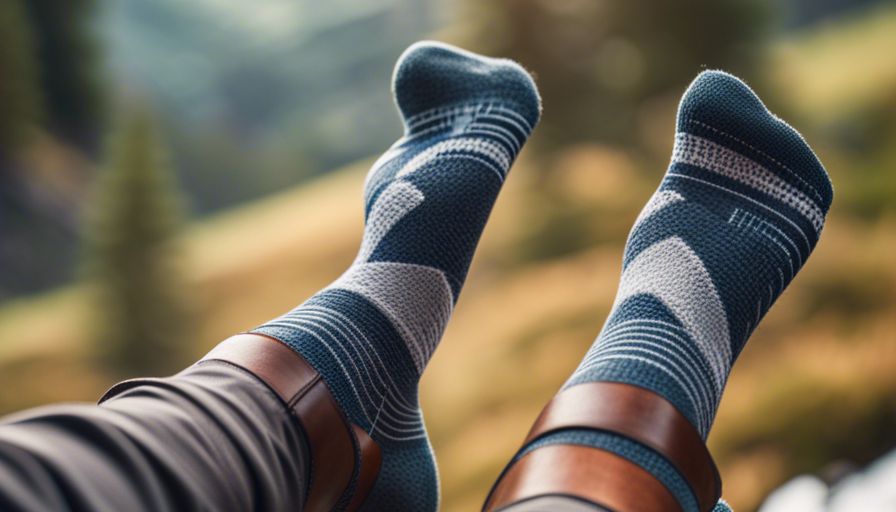
Wearing well-designed hiking socks is essential for preventing blisters during your outdoor adventures. When it comes to choosing the right socks, there are a few key factors to consider. Firstly, look for socks that are made with moisture-wicking materials, such as merino wool or synthetic blends. These fabrics help to wick away sweat and keep your feet dry, reducing the risk of friction and blister formation. Additionally, opt for socks with cushioning in areas prone to high impact or rubbing, like the heel and toe. This added protection can help reduce friction and provide extra comfort during long hikes.
Another tip is to wear liner socks underneath your hiking socks. Liners are thin and smooth, providing an additional layer of protection against friction. They can also help wick moisture away from the skin, further reducing the risk of blisters. If you’re concerned about sweaty feet, sprinkle some foot powder into your socks before putting them on. The powder helps to keep your feet dry by absorbing excess moisture.
Remember, choosing the right pair of hiking boots or shoes is equally important in preventing blisters. Make sure they fit properly and provide enough room for your toes to move comfortably. Avoid tight-fitting footwear that may cause friction and irritation.
Investing in good-quality hiking socks will go a long way in keeping your feet happy and blister-free on the trails!
Insider Tip: Try A Sock Liner and Foot Powder
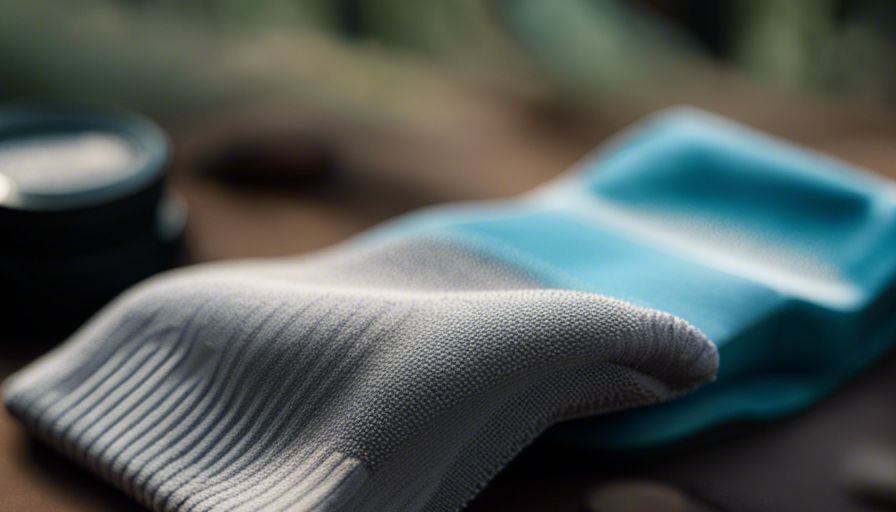
An effective way to prevent hiking blisters is by using a sock liner and foot powder. These two items can provide additional protection and reduce friction, keeping your feet comfortable during long hikes.
First, start by wearing a thin sock liner underneath your hiking socks. Sock liners act as an extra layer of defense against blisters by reducing rubbing between your foot and the sock. They also help wick away moisture from your skin, keeping it dry and reducing the risk of blister formation.
Next, apply foot powder to your feet before putting on your socks. Foot powder helps absorb moisture and reduces friction when you’re on the move. It creates a barrier between your skin and the sock, minimizing the chances of developing blisters.
Investing in high-quality hiking socks with built-in moisture-wicking properties is crucial for blister prevention. Combine them with a sock liner and foot powder for optimal results in keeping blisters at bay during your outdoor adventures.
Insider Tip: Keep Debris Out of Your Boots
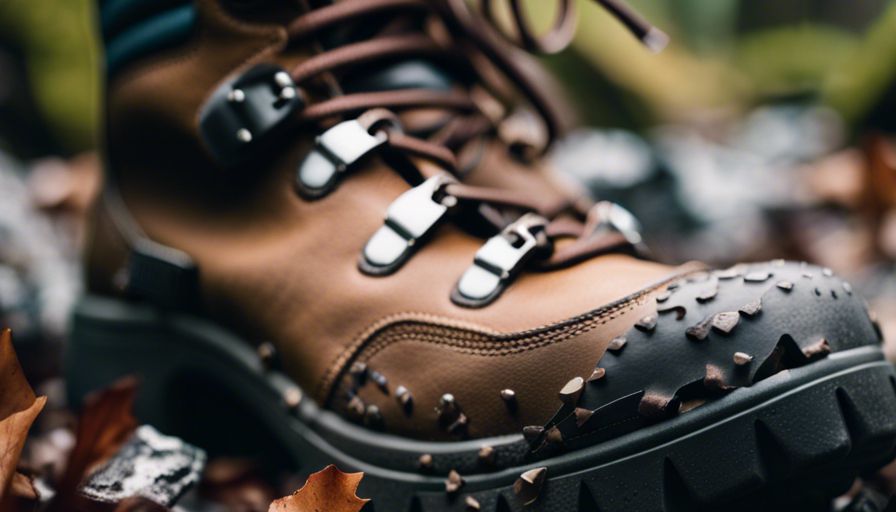
To avoid painful hiking blisters, it’s absolutely crucial to safeguard your boots from pesky debris. I can’t stress enough how detrimental it is to have even the tiniest stone or speck of dirt incessantly rubbing against your precious foot and spoiling your delightful hike. Thankfully, there’s a simple yet effective trick I’d highly recommend: gaiters. These fabulous protective coverings act as marvelous shields, perfectly designed to envelop the top of your beloved boots. Their divine purpose? Keeping those bothersome rocks, dirt clumps, and any other irritating bits and bobs at bay. Trust me, they’re a game-changer!
But that’s not all! Another indispensable nugget of wisdom for you: ensuring a thorough cleaning of your cherished boots prior to each and every hike. Don’t fret, it’s not as daunting as it sounds! Just grab a trusty brush or soft cloth and give those darling soles and sides a good scrub. This extra step is genuinely paramount in banishing any lurking traces of dirt or sneaky grains of sand that adore tormenting your delicate feet while bravely traversing the trail.
Here are the key pointers you should take away:
- Gaiters are an absolute must-have to shield your boots from debris.
- Prioritize diligently cleaning your cherished boots before embarking on each hike to eliminate potential irritants with precision.
Looking forward to happy blister-free trails ahead!
Build Up Mileage Gradually
Embarking on a hiking journey? It’s crucial to start slow and gradually build up your mileage. Trust me, this will ensure that your feet stay in top shape throughout your outdoor adventure without any pesky blisters hindering your experience. By slowly increasing the distance and duration of each hike, you allow your precious feet to acclimate to the demands of walking for extended periods.
Now, I get it – pushing yourself too hard, attempting those long and strenuous hikes before your feet are ready can be brutal on them, putting you at a greater risk for blisters. That’s why it’s absolutely essential to listen to your body and respect its needs. Start off with shorter hikes and as you feel more at ease, gradually build up both the length and difficulty level of your hikes.
And guess what? This gradual approach not only reduces the chance of getting blisters but also minimizes other issues like chafing and foot fatigue. After all, hiking is all about enjoying nature while keeping those feet happy and healthy.
So go ahead and take the time to steadily increase your mileage over time, allowing your body – including those precious feet of yours – to adjust at its own pace. Trust me, they’ll thank you later!
If You’re Prone To Blisters in Certain Areas
When you’re prone to blisters in certain areas, it’s essential to experiment with different strategies to find what works best for you. Here are a few techniques that can help alleviate discomfort and prevent blisters from forming:
- Proper footwear fit: Ensure your hiking shoes or boots fit correctly. If they’re too tight or too loose, they can cause friction and pressure on certain areas of your feet, leading to blisters. Consider getting professionally fitted if you frequently experience blister issues.
- Break in your footwear: Before embarking on a long hike, break in your hiking shoes or boots by wearing them on shorter walks. This process allows the boots to conform to the shape of your feet, reducing friction and hot spots.
- Apply preventive measures: Use blister prevention products such as moleskin, medical tape, or specialized blister prevention patches on areas prone to blister formation. These aids provide an extra layer of protection against friction and reduce the chances of blisters developing.
Remember that everyone’s feet are different, so what may work for others may not work for you. It’s essential to listen to your body and adapt accordingly using these tips as starting points for finding effective blister prevention techniques in specific problem areas while enjoying your hikes free from foot discomfort.
How To Care For Hiking Blisters
Welcome to this section where we’ll talk about the proper care for hiking blisters. Now, whether you’re a seasoned hiker or new to the trails, blisters can crop up and bring some serious pain. Fear not though, because we’ve got your back! We’ll delve into how to handle those pesky hot spots before they turn into full-blown blisters, when it’s advisable to pop a blister, and effective treatment methods. Moreover, we’ll stress the significance of allowing your feet ample time to heal after a rigorous hike. So let’s jump right in and discover how to provide your feet with the TLC they deserve following a day on the trails.
Deal With Hot Spots As Soon As You Notice Them
When you’re out on a hike, it’s important to pay close attention to any hot spots that start to form on your feet. Hot spots are areas of increased friction and irritation that can quickly develop into painful blisters if not addressed promptly. As soon as you notice a hot spot, take immediate action to prevent further discomfort and potential blister formation.
One effective way to deal with hot spots is by applying a protective layer such as moleskin or blister tape directly onto the affected area. These products serve as a barrier between your foot and the inside of your shoe, reducing friction and preventing blisters from developing. Additionally, you can use a piece of duct tape or adhesive bandage if you don’t have specialized blister prevention products on hand.
Another helpful strategy is to reduce moisture and friction by changing into dry socks or using baby wipes to clean the affected area. Excess moisture can exacerbate the development of blisters, so keeping your feet dry is vital. If you’re prone to getting blisters in certain areas, consider wearing toe socks or applying talcum powder or foot antiperspirant before putting on your socks.
Remember, dealing with hot spots promptly can help mitigate pain and discomfort while allowing you to continue hiking without interruption. So, be proactive and take the necessary steps to protect your feet as soon as you notice any signs of irritation.
When to Pop a Blister
There comes a point in every hiker’s journey when they encounter the dreaded blister. While prevention is key, there may be instances where popping a blister becomes necessary to alleviate discomfort and prevent further damage. Knowing when to pop a blister can be crucial for proper treatment and healing.
First and foremost, it’s important to understand that popping a blister should only be done in certain circumstances. If the blister is large, painful, or causing significant discomfort, it may be necessary to release the fluid buildup inside. This will help relieve pressure and allow for faster healing.
However, make sure to keep these considerations in mind before popping a blister:
- Sterilize: Before attempting any form of intervention, ensure that you clean the area thoroughly with alcohol or an antiseptic wipe. This reduces the risk of infection once the blister is punctured.
- Timing: Waiting for the right time to pop a blister is crucial. Ideally, you should wait until the top layer of skin has loosened or become thin enough on its own.
- Equipment: Always use sterilized equipment like a needle or blade if you decide to pop the blister yourself. To sterilize them effectively, clean them with alcohol before use.
Once you’ve decided it’s time to pop the blister:
- Locate a hardened edge that you can safely pierce using your sterilized needle or blade.
- Carefully create an incision at one edge of the blister.
- Gently press around the edges of the blister to drain out all fluid while keeping it intact.
- Cleanse the area again and apply an antibiotic ointment followed by a protective bandage or adhesive strip.
Remember that allowing blisters to burst on their own through natural friction can increase your risk of infection. If unsure about popping your •blisters, seeking professional medical attention is always recommended.
By following these guidelines, you can help ensure proper blister care and promote a faster healing process to get you back on the trails in no time.
Treating the Blister
Once you develop a blister while hiking, it’s important to treat it properly to prevent further discomfort and potential infection. Here are some tips on how to treat a blister:
- Clean the area: Before treating the blister, gently clean the surrounding skin with mild soap and water. This helps remove any dirt or bacteria that could cause infection.
- Drain the blister (optional) : If the blister is large or causing significant pain, you may choose to drain it. To do so, sterilize a needle or safety pin with rubbing alcohol or flame and carefully puncture a small hole near the edge of the blister. Gently press on the blister to allow fluid to drain out.
- Protect and cushion: Apply an antiseptic ointment or gel on the exposed area, then cover it with a breathable adhesive bandage or blister bandage. This protects the blister from further irritation and cushions it against friction.
- Change bandages regularly: If your blisters are still oozing fluid after draining, change the bandages daily to keep them clean and dry.
- Let your feet heal: After treating your blister, give your feet ample time to heal before engaging in any strenuous activities again. Avoid wearing tight-fitting shoes or putting excess pressure on the affected area.
Remember that prevention is key when it comes to blisters, but if you do end up with one, taking proper care of it will promote faster healing and help get you back on the trails sooner.
Let Your Feet Heal After the Hike
After an exhausting day of hiking, it’s crucial to give my feet the chance to heal and bounce back from any blisters or aches. Taking care of my feet after the hike is just as important as preventing blisters in the first place.
Once I’m finished with my hike, I need to slip off my boots and socks so that my feet can breathe freely. This will help prevent any excess moisture buildup that could potentially cause more irritation. It’s important to gently cleanse my feet using warm water and mild soap, making sure not to vigorously scrub the blistered areas.
After cleansing, I should carefully pat my feet dry using a clean towel or allow them to air dry naturally. If there are any open blisters or raw spots, applying an over-the-counter antiseptic ointment like Neosporin can provide protection against infection.
To aid in their healing process, I should avoid wearing tight or constricting footwear for the next few days. Instead, I should opt for comfortable shoes or sandals that allow my feet to breathe and offer sufficient cushioning.
In addition, treating myself to a foot massage using moisturizing lotion can work wonders in relieving any soreness and boosting blood circulation. Massaging my feet not only promotes relaxation but also reduces swelling.
I must always keep in mind that giving proper attention to my feet after a hike is vital in preventing further discomfort and ensuring they’re ready for my next thrilling outdoor adventure!